HOT OFFER! Save $180 on selected internet plans + get beIN SPORTS CONNECT included!...Use promo code BEIN30 at checkout! Hurry, limited time only!
step 1 - connect to your router via Wi-Fi or Ethernet
Before you can update any settings, you will first need to reset the TP-Link TL-WR841N router to its factory settings.
To do so, with the device powered on, use a paperclip or similar tool to hold down the reset button on the back of the router for more than five (5) seconds. The router will then restart – this may take a few minutes.
Once the router has been reset, ensure that Wi-Fi is enabled on the device you are using to access your modem (e.g. computer/laptop/smartphone/tablet). If you are using a smartphone or tablet, you should turn off your mobile data connectivity or any hotspot connection during this process.
Connect to the Wi-Fi/Wireless network of the TP-Link TL-WR841N router on your computer/laptop/smartphone/tablet. To connect to the Wi-Fi network of the TP-Link TL-WR841N router, locate the Wi-Fi network name being broadcast by the router from your device (e.g. computer/laptop), select this network, then enter the password for this network when prompted.
If you are unsure of the Wi-Fi password, this will be printed on the bottom of the TP-Link TL-WR841N router and is usually labelled “Wireless Password/PIN”.
PLEASE NOTE: YOU DO NOT NEED TO HAVE A WORKING INTERNET CONNECTION TO CONNECT TO THE WI-FI OF THE TP-LINK TL-WR841N ROUTER OR ACCESS THE ROUTER GATEWAY PAGE.
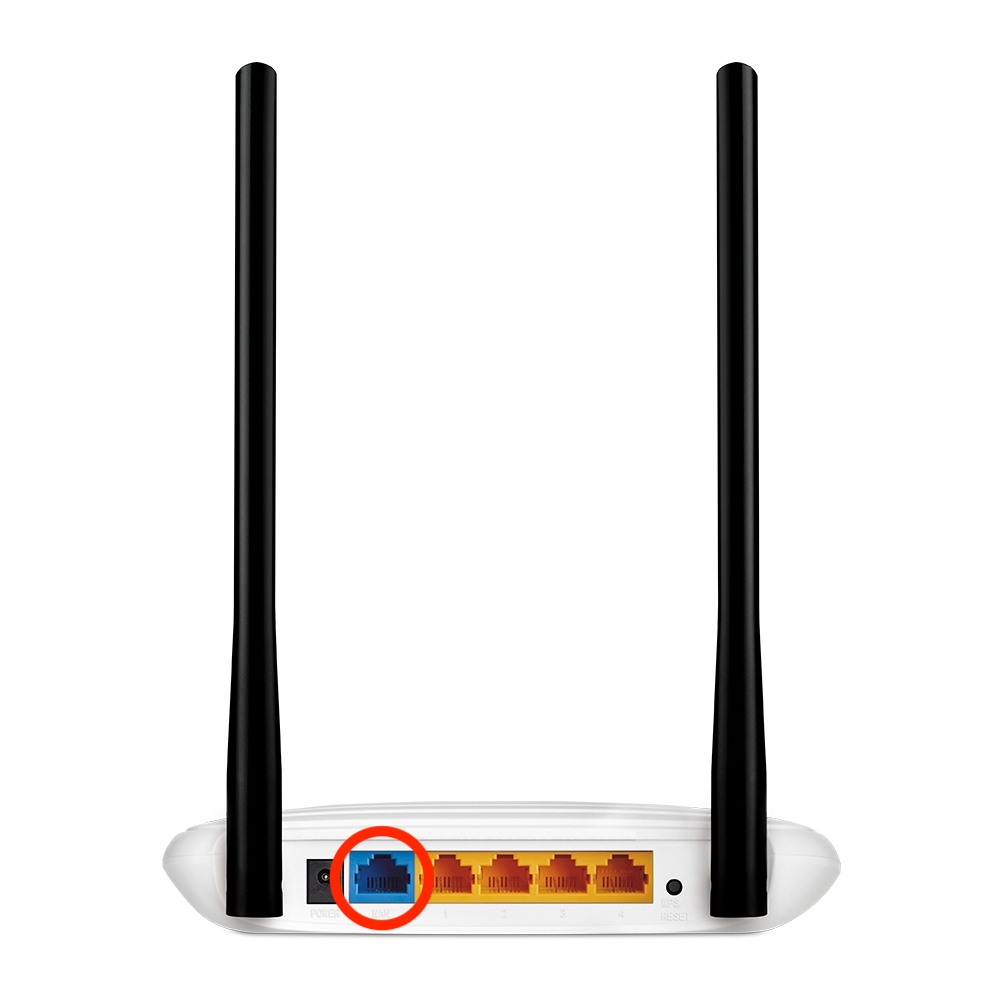
Alternatively, you can plug in an RJ-45 Ethernet cable from your computer or laptop to one of the four (4) yellow LAN ports on the back of the TP-Link TL-WR841N router.