TIDAL: Transfer your existing playlists to TIDAL
Mobile Phone & Internet Blog | MATE, TIDAL | 15 December 2020

We know that you have spent countless hours curating your favourite music into playlists for every conceivable mood that may strike, and any party or event that may arise!
TIDAL makes it easy to transfer your playlists and favourite tracks across with their playlist import feature.
Below outlines the steps to transfer your music to TIDAL and make sure you never miss a beat!
STEP 1
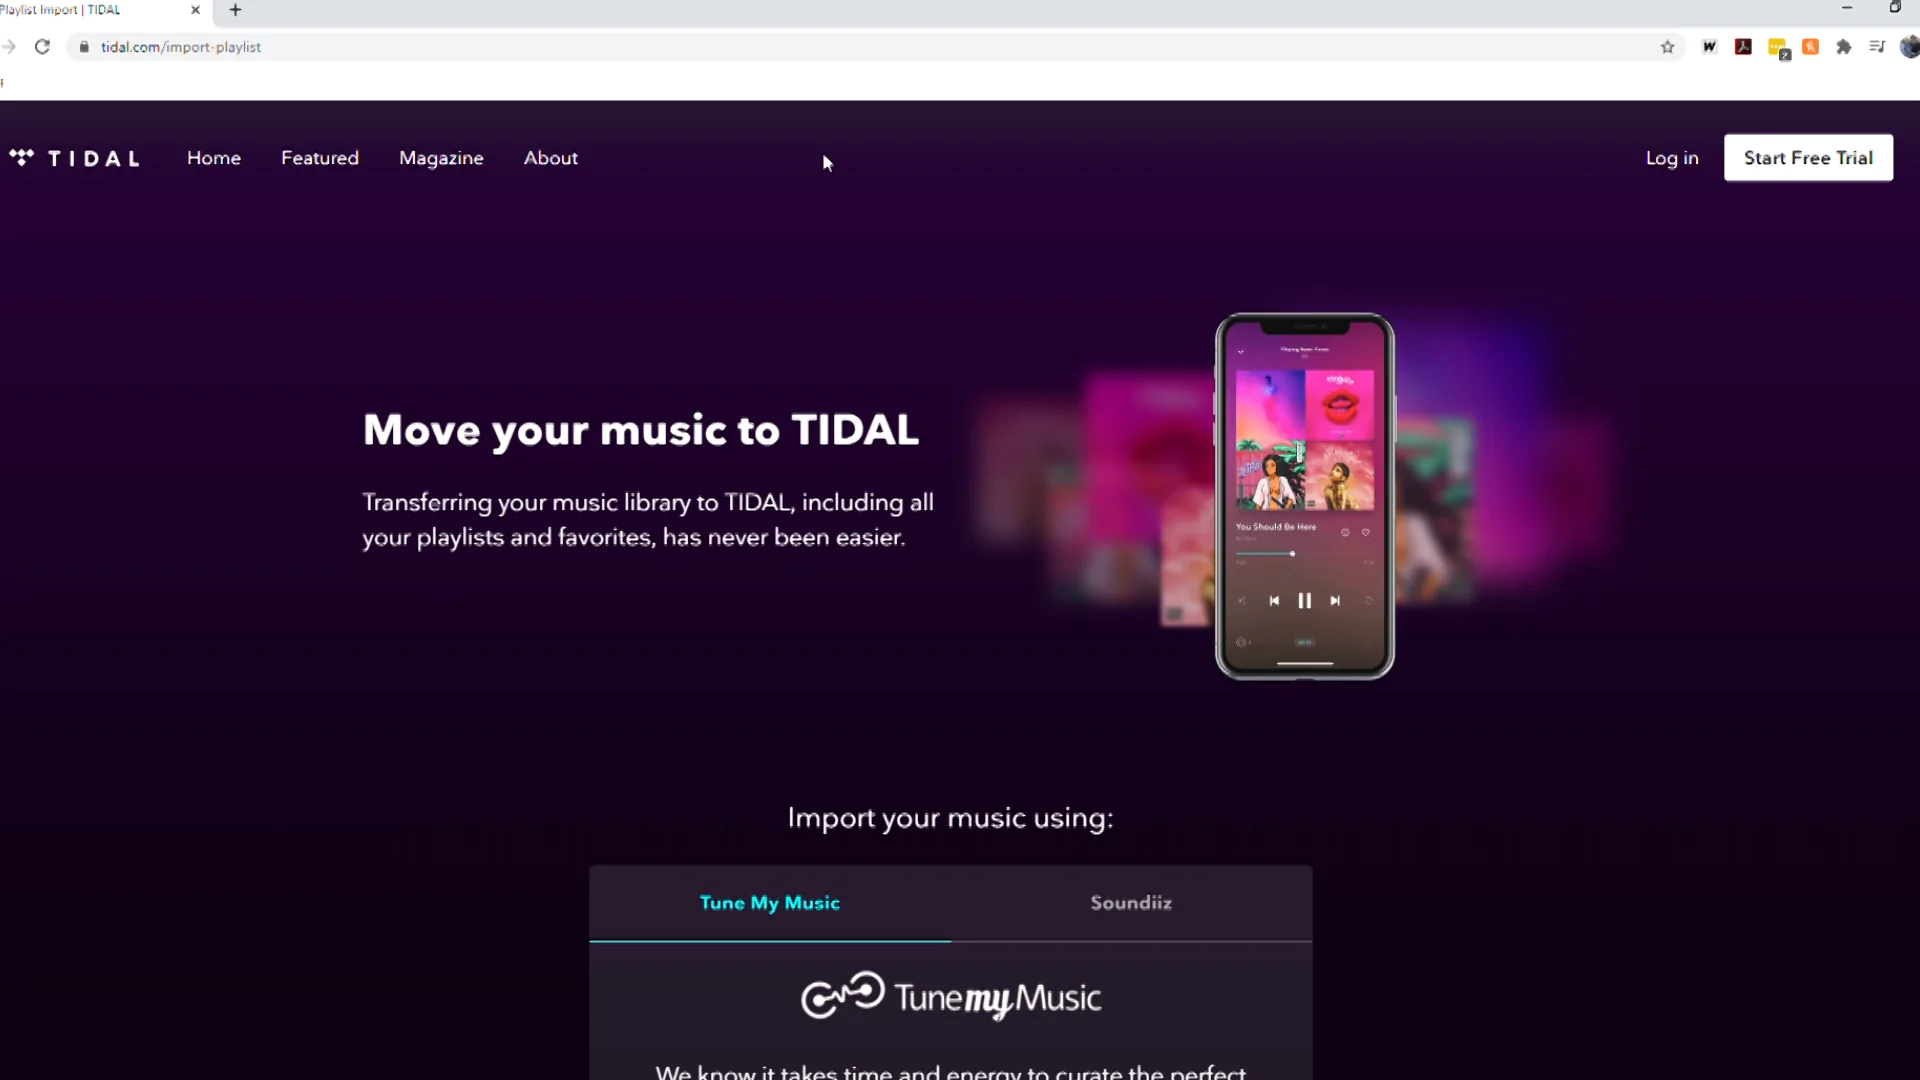
Visit TIDAL.com/playlist-import
 STEP 2
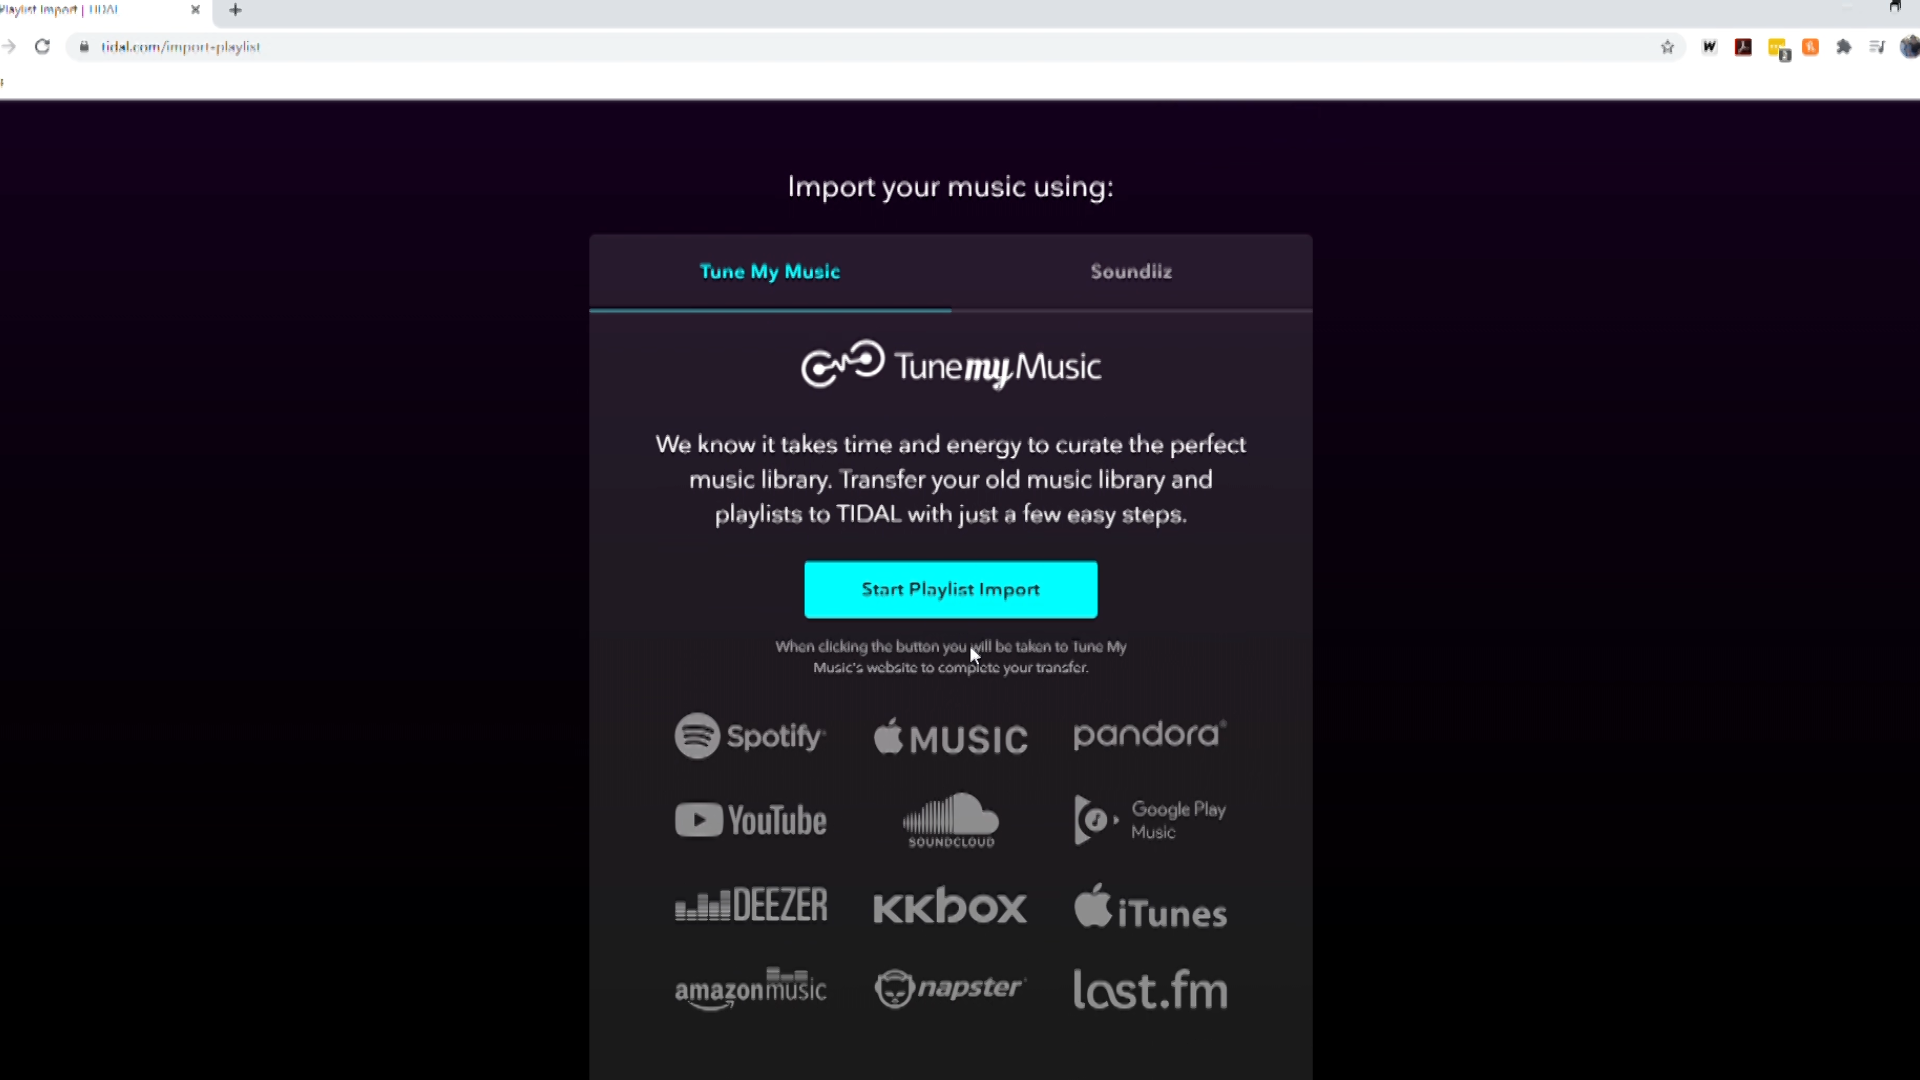
Scroll down and click “Start Playlist Import”
STEP 3
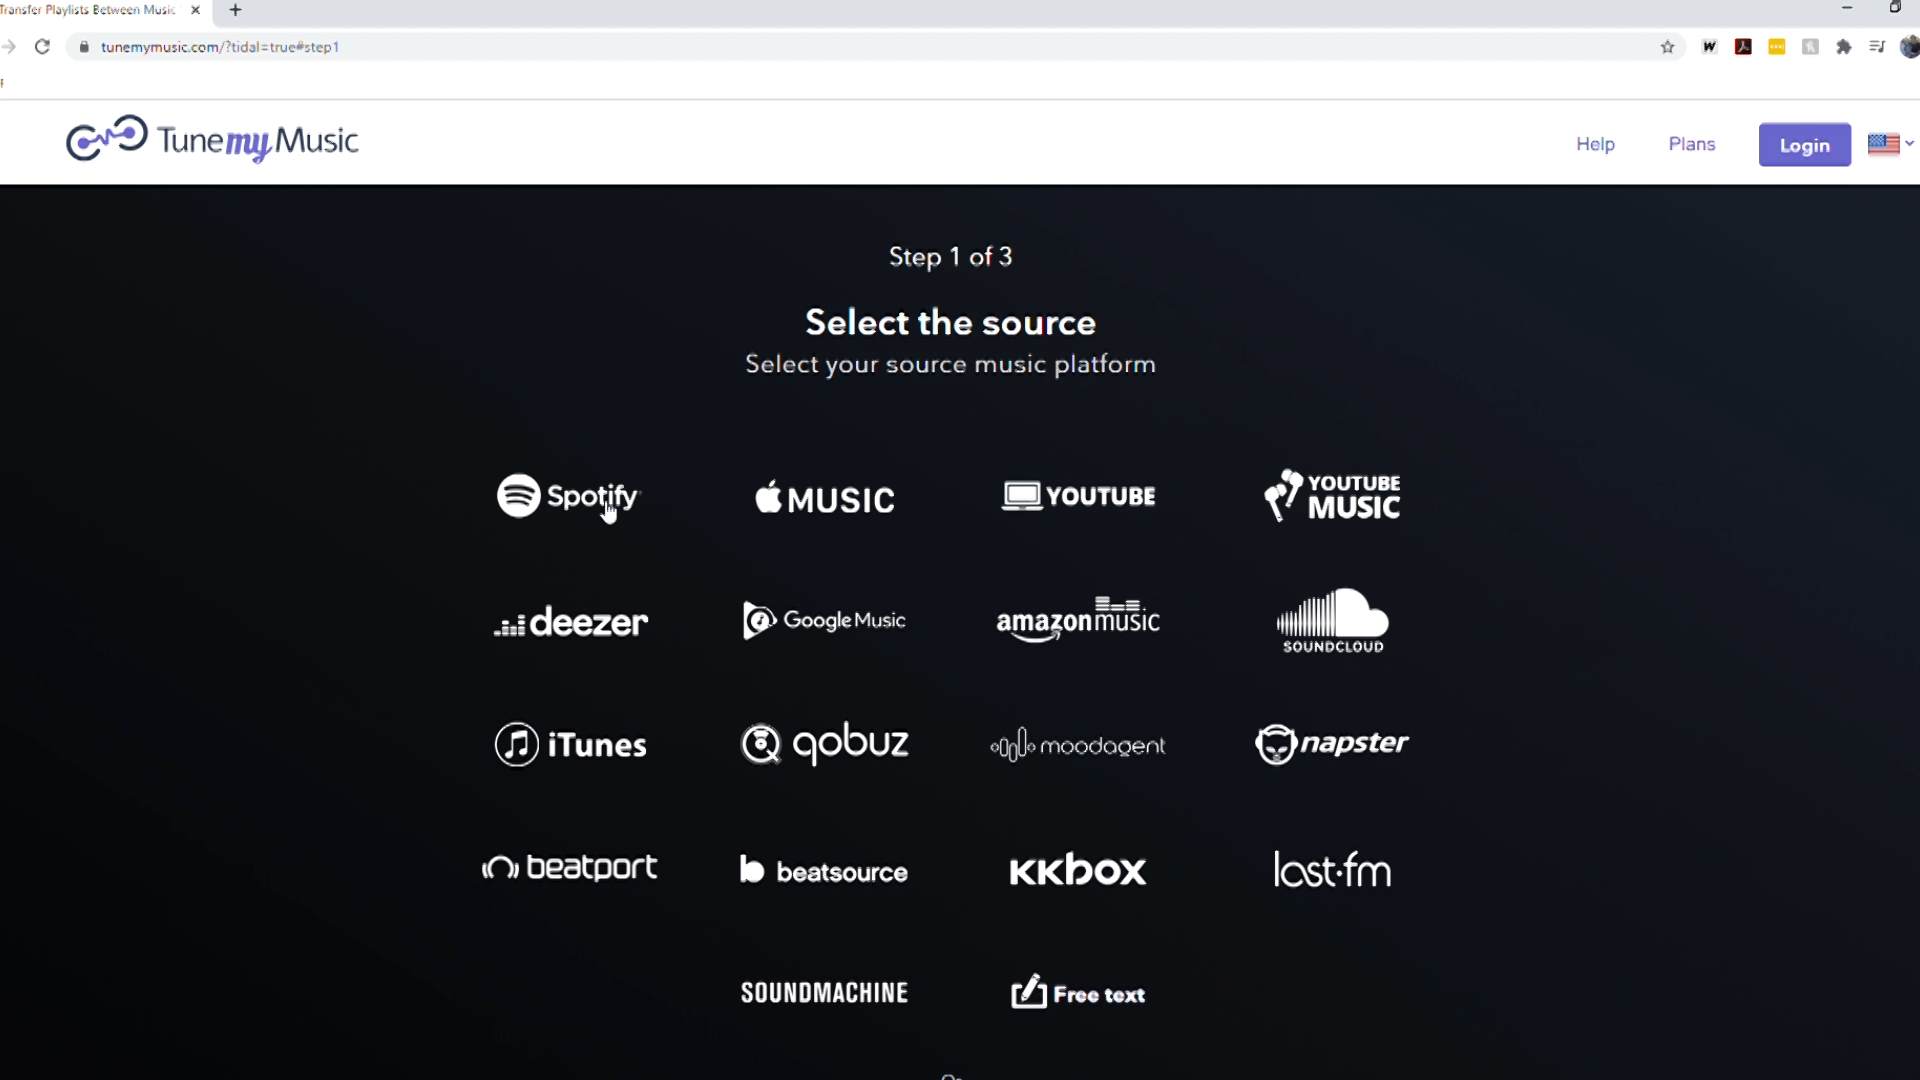
Select your current music service to transfer your playlists from.
STEP 4
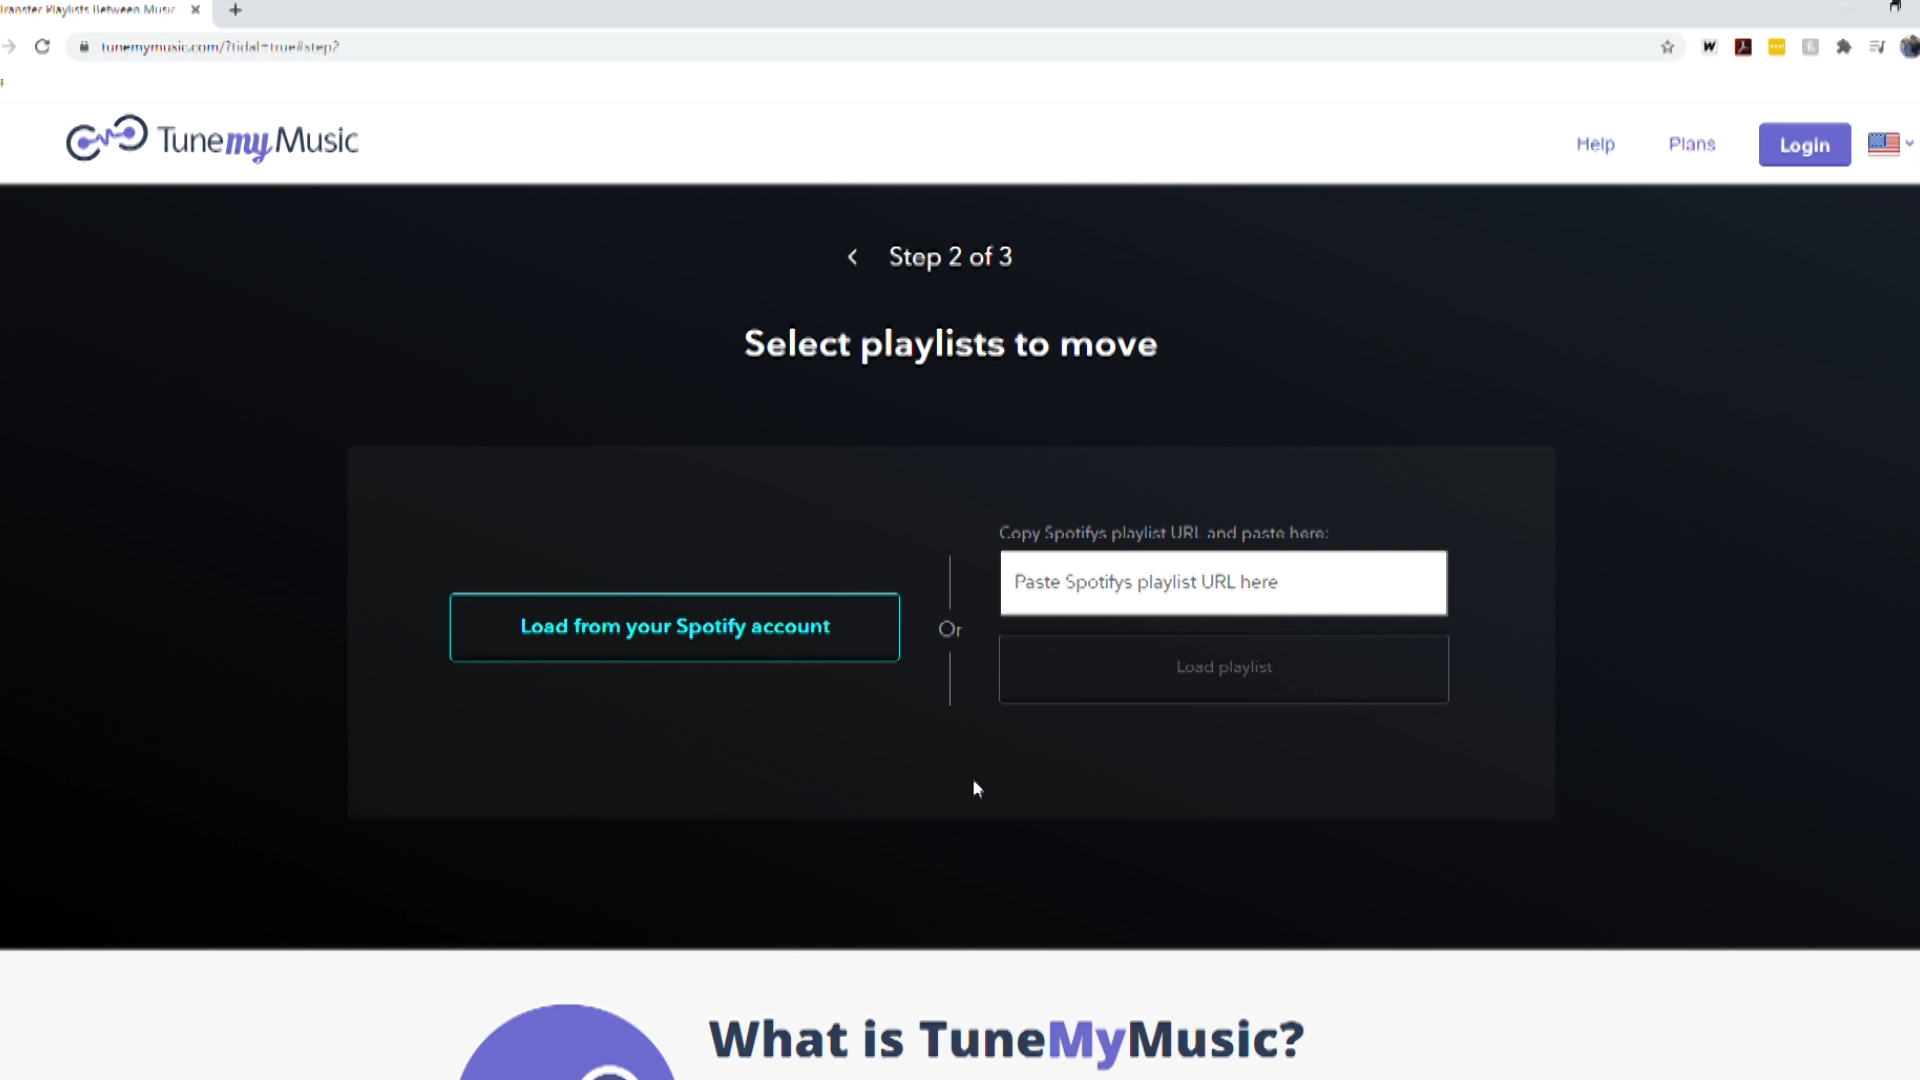
You can then select to transfer from your existing account or copy and paste individual Playlist URLs. You will be asked to log-in to TIDAL and your current music provider and authorise the transfer.
STEP 5
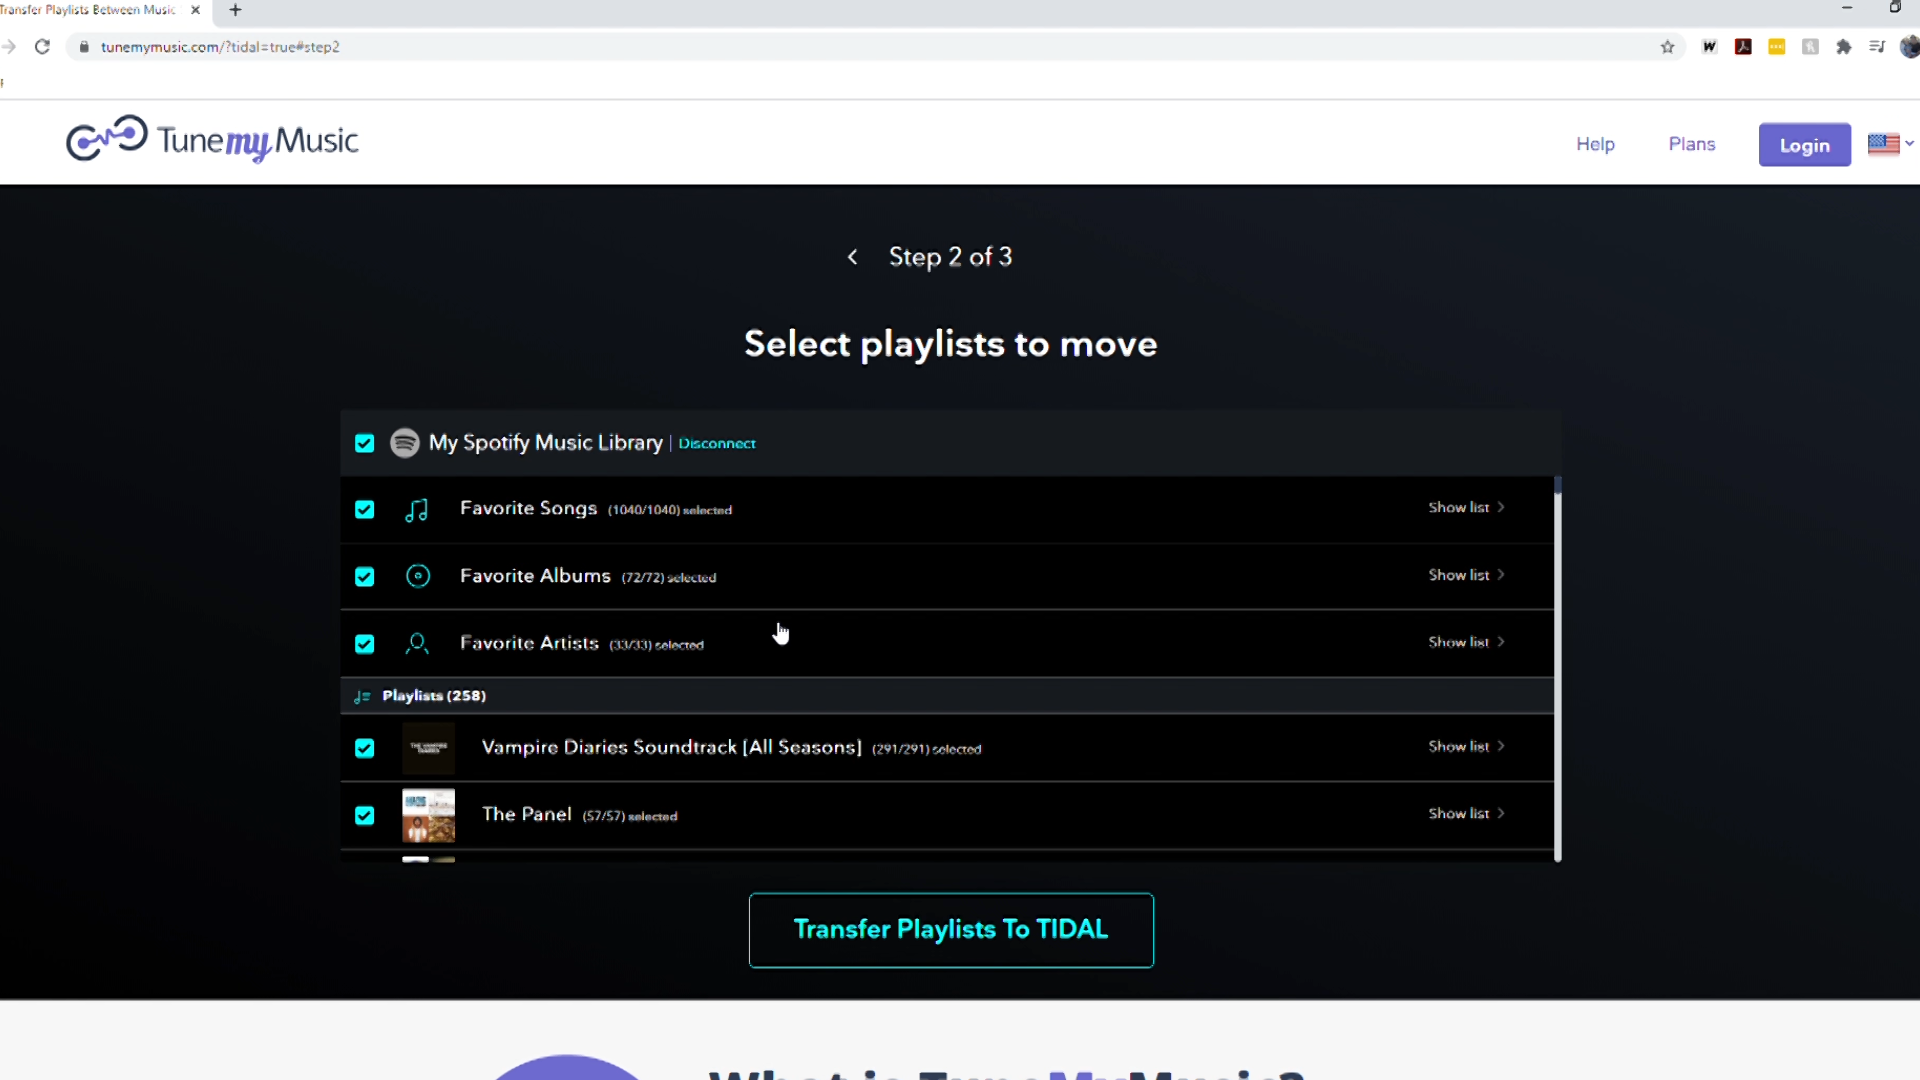
Your current playlists will now be displayed You can choose which playlists to transfer to TIDAL or select that you want to transfer them all. When you have completed the selection, click “Transfer Playlists to TIDAL”
STEP 6
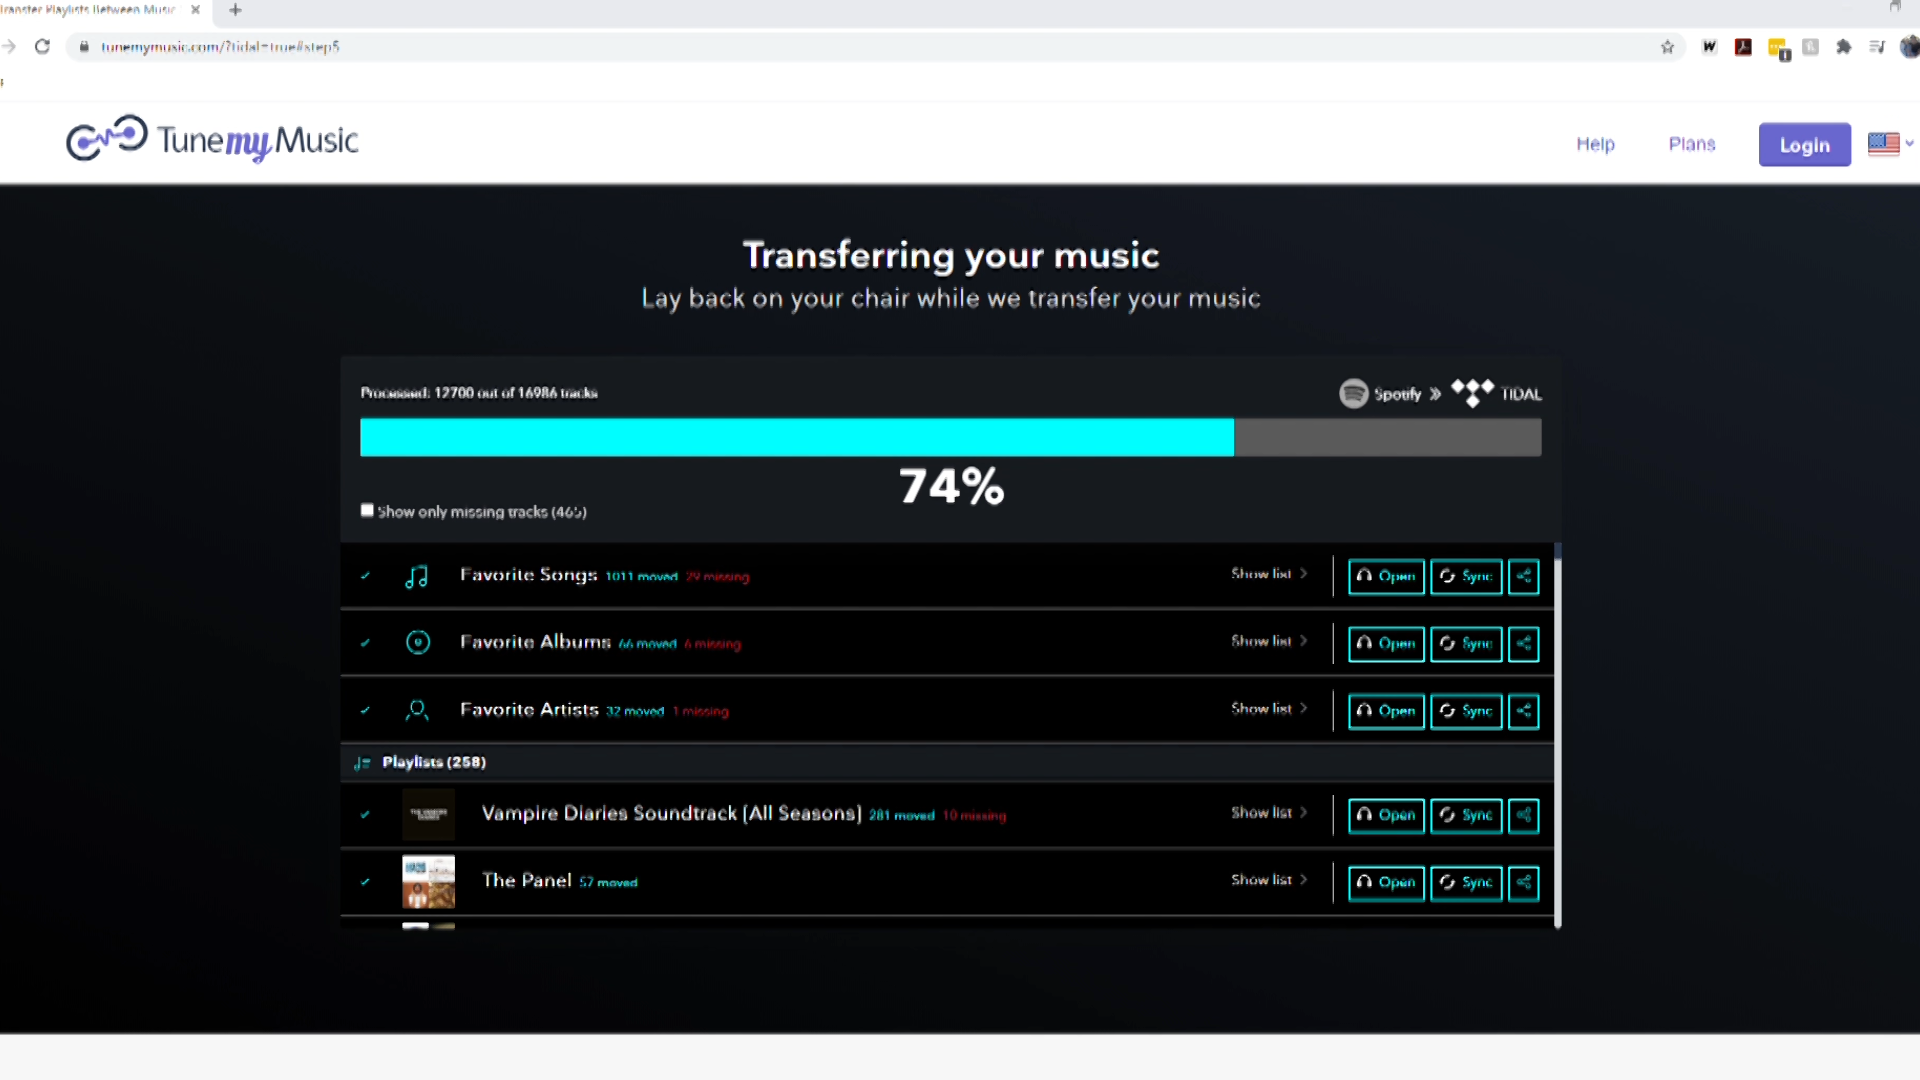
The transfer will now start. Depending on the number of songs and playlists, this may take some time. This is a great time to explore the TIDAL app on your mobile device and discover some new artists.
You will see a progress bar to indicate how many songs have been transferred as well as any songs that are not available in the TIDAL catalogue.
STEP 7
Once complete, you can choose to keep the music services synchronised, or open your playlists in TIDAL and enjoy your TIDAL music subscription.
If you have any issues, please visit support.tidal.com for help.
Updated 6 October 2022: As of 7 November 2022, MATE will no longer offer a TIDAL HiFi music subscription with selected mobile plans.
* For full terms and conditions of this offer, visit letsbemates.com.au.