HOT OFFER! Save $180 on selected internet plans + get beIN SPORTS CONNECT included!...Use promo code BEIN30 at checkout! Hurry, limited time only!
Have HDMI connection problems? Here’s how to fix it
Entertainment & Internet Blog | MATE | 26 February 2019

With over two dozen HD channels on Australian broadcast television and endless HD content online, being forced to endure media in anything less than 720p is unbearable.
You know your HDMI port works and you know your computer’s video card has connected to other HDMI devices before this time, but now the two just can’t seem to work together.
These six steps will take you through the troubleshooting process to determine which part of the digital chain of devices is breaking down on you.
Step 1: Check for multiple input displays
Your television or monitor may have multiple displays, including more than one HDMI port. They will typically be labelled “HDMI 1”, “HDMI 2”, and so forth as necessary.
The “Input” option to swap between them should be near the rest of the controls. It can be easy to assume it’s on the right input and not stop to check, so take the time to look for this simple problem before you get too far into the process of troubleshooting.
Step 2: Restart the devices
“Turn it on and off again” may sound like basic and silly advice, but electronics perform startup routines that can clear out issues with less effort than more advanced techniques with few downsides.
For HDMI in particular, there is an advanced verification process used to deter piracy that can occasionally cause issues, and restarting gets the devices to try to verify one another once again. Just be sure to save any open files if one of those devices is a personal computer. Try it once, twice at most.
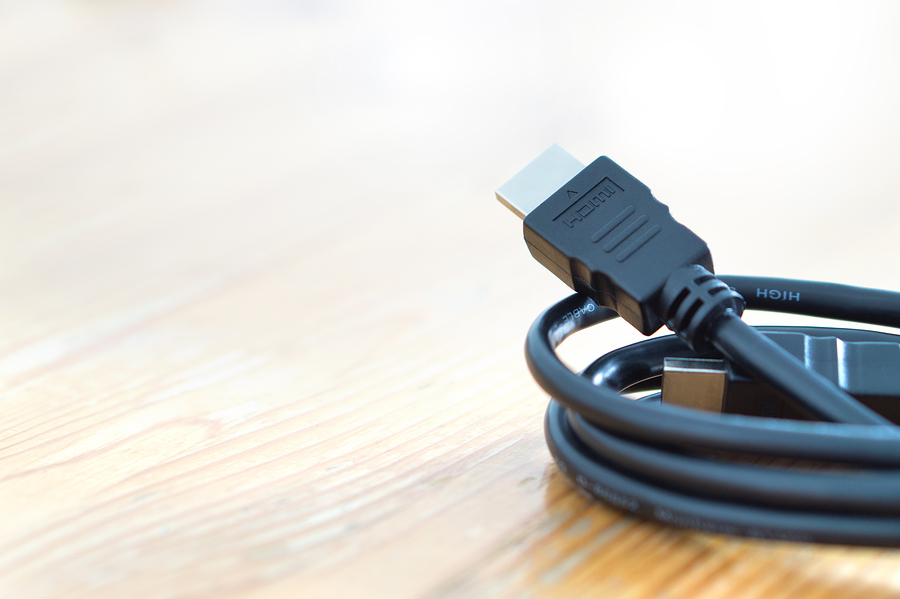
Step 3: Try a different HDMI cable
Cables can become damaged and lose the ability to transmit a signal. If your cords are frequently bent near the ends, there may be breaks in the wiring from the excess stress. Swapping out the cable is the easiest way for the average user to test if the cable itself is the issue. Change the cable, restart the devices if they don’t connect immediately, and give it a moment to see if the old HDMI cable is the issue.
Step 4: Test different HDMI input ports
As mentioned earlier, your display may have more than one HDMI input. If two are tucked in the back and one is easily accessible on the side, then the side input is likely to see more use – and thus has a higher risk of becoming damaged. Connect the HDMI cable into the other inputs to see if the display is having a general issue or an issue with that specific input.
Step 5: Switch displays
To see if the issue is with the display after testing all the inputs, try plugging the input device into another display. If you don’t have a second HDMI compatible monitor or television on hand, try asking a neighbour or friend to lend you one. They will probably be more likely to help you with this step if your device is portable and you don’t have to move their television.
Step 6: Use a separate input device
The last troubleshooting step requires another device capable of outputting an HDMI signal. Usually, this will be something like a laptop, a gaming console, or a DVD player. Plug it into the display and turn it on. If the image shows without an issue, there is either an issue with the original output device or the specific pairing of the input and display.
Upgrading the firmware for the display adapter may solve the issue, but there may also be a problem with the HDMI port’s physical components. Unfortunately, here is where you will have to begin delving more into the specific devices you’re using to find a potential solution for your HDMI connectivity issues.
